There is a specific shade of beige that haunts every apartment kitchen built between 1994 and 2015. You know the one. Off-white cabinets that have yellowed just enough to look dirty even when they're clean. Builder-grade hardware that was cheap when it was installed and looks cheaper now. Laminate counters the color of old cream. The whole room radiates 'I gave up.'
Most people live with it because they assume they can't touch it — renter restrictions, budget limits, fear of making it worse. That assumption is costing them years of cooking in a room they hate.
The Apartment Therapy piece circulating this week shows a before-and-after that is genuinely hard to believe is the same kitchen. No contractor. No permits. No demolished walls. A renter-legal, weekend-scale DIY that moved a beige box into something that looks like a design decision.
Here's the breakdown of what actually makes these transformations work — and where people blow it.
---
The Two Moves That Do 80% of the Work
Every budget kitchen redo that actually lands well leans on the same two moves. Everything else is refinement.
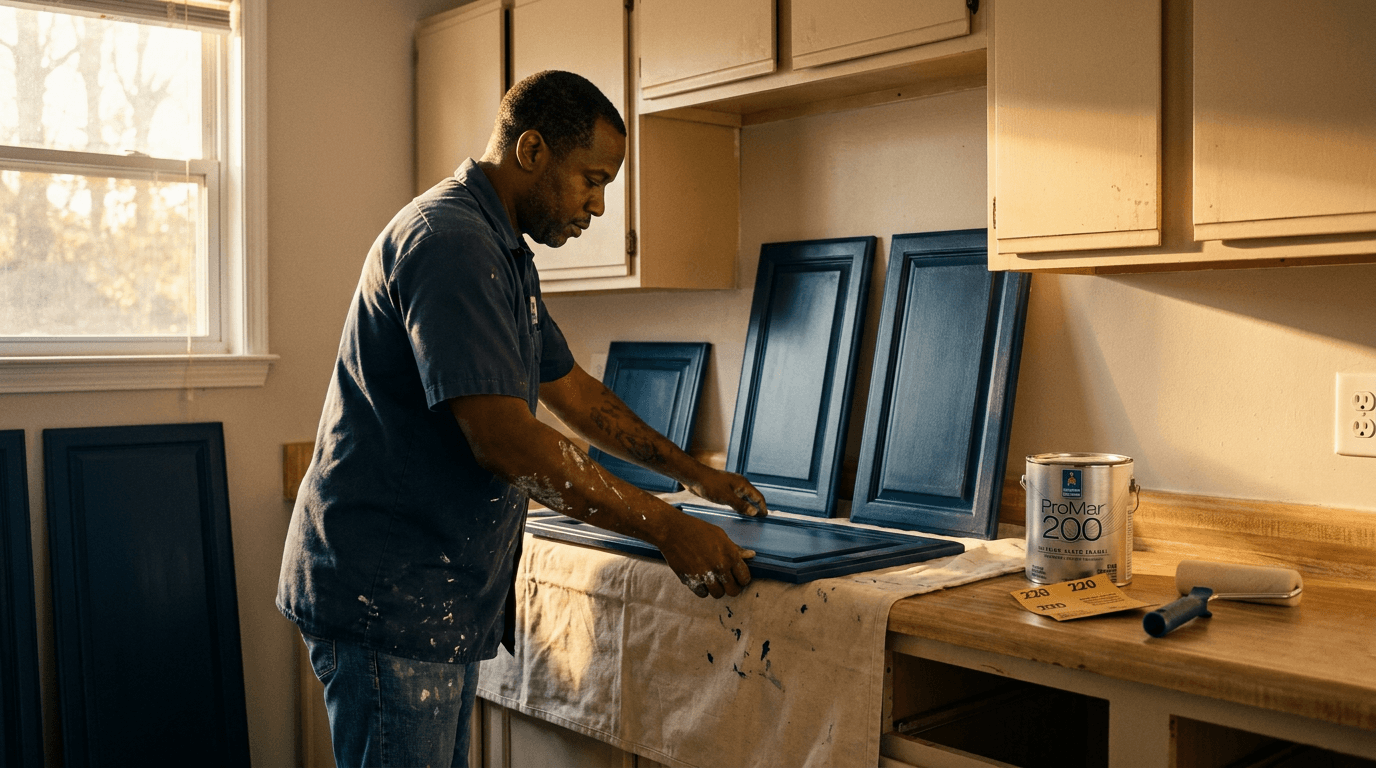
Move 1: Change the cabinet color, full stop.
Cabinet paint is the highest-leverage dollar in the entire kitchen. A $60 quart of cabinet-specific alkyd enamel (Sherwin-Williams Emerald Urethane is the one I'd reach for — harder cure, less brush drag) will do more visual work than a $600 backsplash install. The key is prep. Degrease with TSP substitute, sand lightly with 220-grit, and prime with a bonding primer before you touch the finish coat. Skip prep and it peels in six months. Do it right and it holds for years.
For a kitchen this size — a standard Atlanta apartment galley, maybe 80 to 100 linear feet of cabinet face — budget a full weekend: Friday night for cleaning and sanding, Saturday for prime and first coat, Sunday for second coat. That's it.
Move 2: Replace the hardware.
This one is embarrassing in how well it works. $3-per-pull builder hardware replaced with $8-12 brass or matte black pulls — same drill holes, same five minutes per door — and the room reads completely differently. You're not changing the structure. You're changing the visual language. Your eye reads 'intentional' instead of 'contractor special.'
Those two moves together: under $250 for a typical apartment kitchen. Done right, the room looks like someone made a choice instead of just moving in.
---
Where People Go Wrong (I've Seen This Firsthand)
The failure modes on DIY kitchen redos are predictable. I watched them play out on job sites for 20 years before I was in real estate — and I watch them play out now when I walk resales where a previous owner got ambitious.
Wrong paint. Regular wall paint on cabinets. It looks fine for about three months. Then the doors start sticking, the finish gets tacky, and it chips every time a pot gets anywhere near it. Cabinet enamel costs more for a reason — it's formulated to cure hard and take impact. Use the right material or skip the project.
No prep. This is the one that kills more DIY paint jobs than anything. Grease from cooking embeds in every surface over time, and paint does not bond to grease. If you didn't degrease, you didn't prep. Period.
Over-ambitious scope. The best budget kitchen redos pick two or three moves and execute them perfectly. The bad ones try to do everything — paint, tile, new light fixture, open shelving, floating shelves, plants — and end up with a room that looks chaotic and exhausted. Restraint is the skill.
Ignoring the lighting. You can paint every surface in the room and still have a bad kitchen if the lighting is a single overhead fixture casting flat yellow light. A $35 under-cabinet LED strip changes the room's depth more than most people expect. Plug-in, no electrician, completely reversible.
!Under-cabinet LED strip lighting installed in a galley kitchen — warm white, clean shadows
---
The Full Budget Breakdown for a Renter-Legal Kitchen Redo
Here's what a solid, no-regrets DIY kitchen transformation actually costs in Atlanta right now — using real products, real prices, real scope:
- Cabinet paint (SW Emerald Urethane, 1 qt): $68
- Bonding primer (Zinsser BullsEye 1-2-3, 1 qt): $22
- TSP substitute + 220-grit sandpaper: $14
- Hardware (10-12 pulls at $10 average): $110
- Under-cabinet LED strip (plug-in, 3-pack): $35
- New faucet (if your lease allows — Delta Trinsic in matte black): $180
- Contact paper for counters (Marble or linen finish, 20 linear feet): $40
Total: $469 — call it $500 with supplies you forgot.
That is a transformed kitchen for $500 and two weekends. The room that was beige and forgettable is now a room someone would actually photograph.
For comparison: a basic kitchen remodel through a contractor in metro Atlanta — new cabinet doors, new counters, new backsplash — starts around $8,000 and goes up fast. This is not the same result. But for renters, for buyers waiting to renovate, for anyone who wants to enjoy the space they're in right now, the DIY path is real.
---
The One Thing Worth Hiring Out
If your kitchen has a dated tile backsplash and you want to replace it — hire that out or skip it entirely. Tile demo in a tight galley kitchen is miserable, the substrate work matters more than people think, and a bad grout job looks worse than the original tile. Peel-and-stick tile panels have gotten significantly better in the last three years if you want the look without the commitment. Aspect by Aspect Tiles and Smart Tiles both make products that hold in kitchen environments if the surface is clean and primed.
But if you're going real tile — get a tile setter. It's a two-day job for a pro and a two-week nightmare for someone who's never done it. I've watched that math play out too many times to recommend otherwise.
---
Your kitchen doesn't have to wait for a full renovation budget. Pick two moves, do them right, and enjoy the room you're actually in.
Drop a photo of your beige kitchen in the comments — I'll tell you which two moves to start with.


