
Here's the math that most homeowners ignore: a pressure-treated pine deck in Metro Atlanta costs $15,000-25,000 to build. A composite deck runs $30,000-45,000. Left unstained and unprotected, Georgia's combination of UV exposure, summer humidity, and winter freeze-thaw cycles will destroy a wood deck in 5-7 years. Stain it every two years, and that same deck lasts 15-20. The difference between a $200 weekend project and a $20,000 replacement is just... doing it.
I've stained four decks in the last decade — two of my own, two for family. I've made every mistake on this list at least once. Here's what actually works.
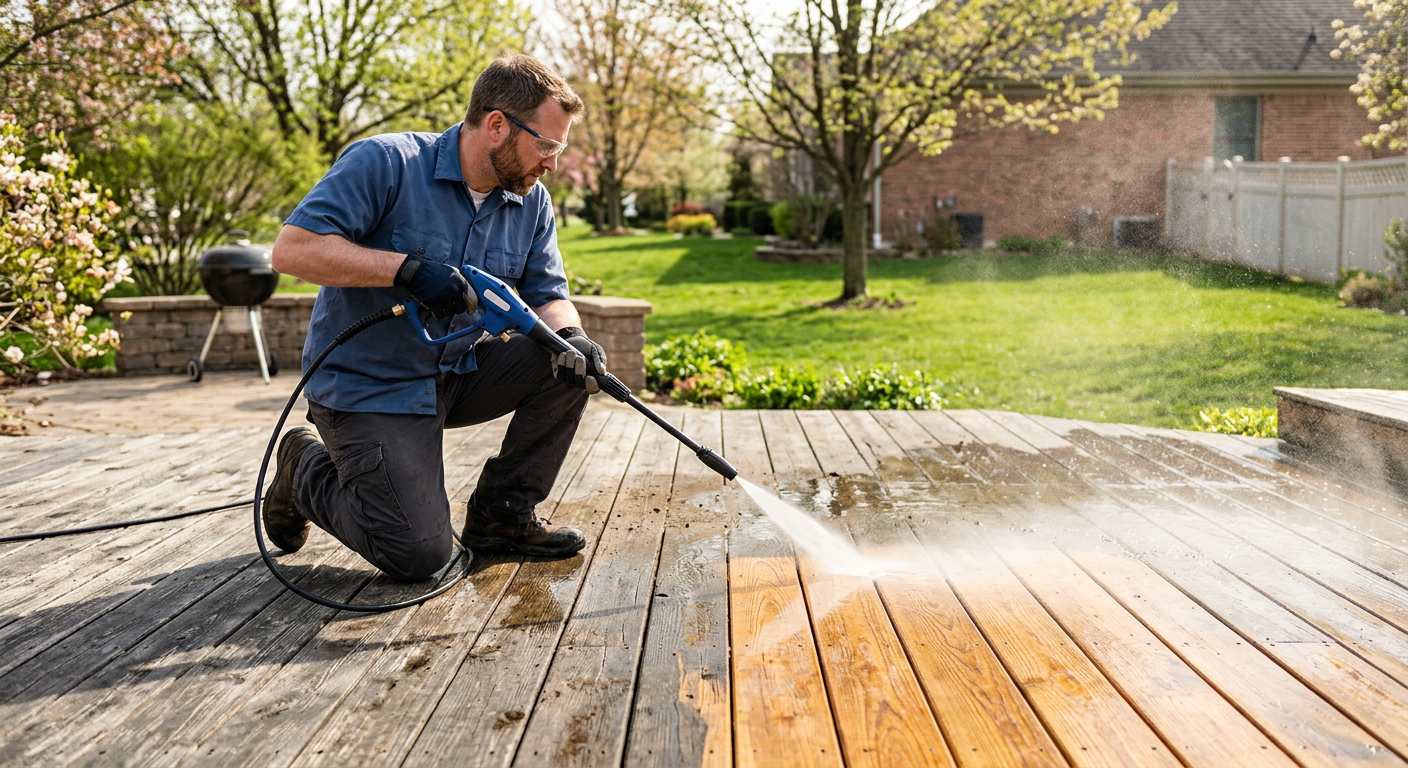
Step 1: Pressure Wash (Morning, 7am-9am)
You cannot stain a dirty deck. Period. Rent a pressure washer from Home Depot ($45/day for a 3,100 PSI gas unit — the electric ones don't have enough power for deck work) or buy a Ryobi 2,300 PSI electric if you'll use it more than twice ($249 on Amazon). Use a 25-degree fan tip — never the zero-degree red tip on wood. You'll gouge it.
Technique: Hold the wand 8-10 inches from the surface and move with the grain, not against it. Overlap your passes by about 30%. Work in sections — one board at a time, tip to end, no stopping mid-board. Stopping creates lines that will show through the stain. The deck will look terrible when wet — grey, furry, splotchy. That's correct. Let it dry completely (24-48 hours in April Atlanta weather, longer if it rains).
The secret weapon: Before you pressure wash, apply a deck cleaner. Behr All-In-One Wood Cleaner ($12/gallon at Home Depot) loosens mildew, algae, and grey oxidation that pressure washing alone won't fully remove. Spray it on, let it sit 10 minutes, then pressure wash. The difference is dramatic.
Step 2: Sand (After Drying, Day 2 Morning)
Pressure washing raises the wood grain — the surface will feel fuzzy, like unfinished lumber. If you stain over this, the finish will be rough and uneven. A quick sanding with 60-80 grit paper knocks down the raised fibers and gives the stain a smooth surface to grab.
Use a random orbital sander (DeWalt DWE6423 — $69 on Amazon) for the deck boards and a sanding sponge for railings and spindles. You're not refinishing furniture — one pass per board, light pressure, with the grain. Five minutes per section. The whole deck should take 45 minutes to an hour. Sweep or blow off all dust before moving to stain.
Skipping the sanding step is the number one mistake DIYers make. The stain will still absorb — but it'll look blotchy, feel rough, and start peeling within 12 months. Twenty minutes of sanding buys you two extra years of protection.
Step 3: Stain (Afternoon, Day 2)
This is the part everyone wants to get to. Here's the product breakdown:
Behr Premium Semi-Transparent Stain ($34/gallon, Home Depot): The mass-market champion. Easy to apply, good color selection, decent UV protection. The "Cedar Naturaltone" shade is the most popular deck stain in America for a reason — it looks warm without looking orange. Two coats, 250 sq ft per gallon. The downside: it fades faster than the premium options and needs reapplication every 18-24 months in full Georgia sun. If your deck gets partial shade, Behr is perfectly fine.
Cabot Australian Timber Oil ($42/gallon, Home Depot or Lowe's): The enthusiast's choice. A penetrating oil-based stain that soaks deep into the wood grain and provides exceptional UV and moisture protection. It doesn't sit on the surface like film-forming stains — it becomes part of the wood. "Honey Teak" is the signature shade. Application is slower (you need to wet-on-wet within 30 minutes), but the result is a richer, more natural finish that lasts 2-3 years. Available on Amazon if your local store is out of your color.
Ready Seal ($40/gallon, Amazon or Lowe's): The "I want this to be as easy as possible" option. No primer needed, no back-brushing required, won't show lap marks, and self-levels during application. You literally cannot mess it up. "Golden Pine" and "Natural Cedar" are the best sellers. It won't penetrate as deeply as Cabot, but for a first-timer or someone who values sanity over perfection, Ready Seal is the right call. $40/gallon on Amazon.
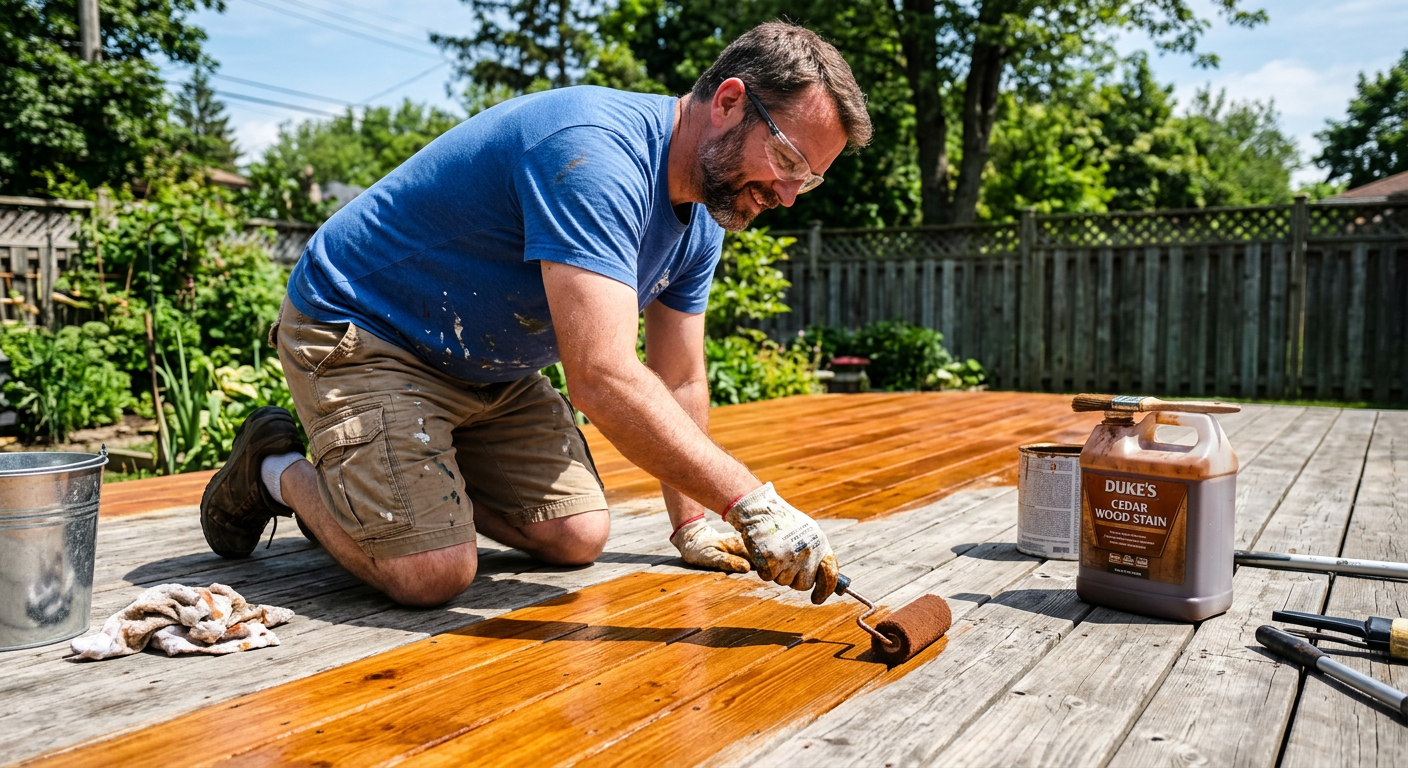
Application Technique
Use a stain pad applicator on a pole (Shur-Line Deck Pad — $18 on Amazon) for the deck surface and a 4-inch brush for railings and edges. Never use a roller — it applies too much product and creates air bubbles that dry as rough spots.
Work in sections: Two to three boards at a time, full length, from one end to the other. Maintain a wet edge — don't stop halfway down a board and come back to it. Overlap marks in a semi-transparent stain are permanent and will haunt you every time you walk outside with coffee.
Two thin coats beat one thick coat. Apply the first coat, wait 2-4 hours (check the can — each product differs), then apply the second. A thick single coat won't penetrate properly and will peel.
Common Mistakes That Ruin Decks
Staining in direct sunlight. The stain dries before it penetrates, creating a film that peels. In Atlanta, start by 8am or wait until 4pm when your deck is in shade. Never stain between noon and 3pm from May through September.
Staining wet wood. If it rained yesterday, wait. Do the "splash test" — flick water on the deck surface. If it beads, the wood is still too wet. If it absorbs within 10 seconds, you're good to go.
Choosing solid stain when you should use semi-transparent. Solid stains hide the grain and look like paint. They peel, they crack, they look terrible after one Georgia summer. Semi-transparent lets the grain show through and wears gradually rather than catastrophically. Unless your deck is heavily damaged and you're hiding repair patches, always go semi-transparent or transparent.
Ignoring the gap between boards. Stain the edges of each board where they face the gaps. Water pools in those joints and causes rot from within. A small brush and two minutes per board saves you from replacing individual boards later.
Atlanta-Specific Timing
Best months to stain: Late March through mid-May, and mid-September through October. You want consistent temperatures between 50-85 degrees, low humidity, and no rain for 48 hours after application.
Worst months: July and August. The humidity prevents proper curing, the afternoon thunderstorms are unpredictable, and the UV intensity bakes the stain before it can penetrate. I learned this the hard way on a deck in Peachtree City in August 2022. It peeled within six weeks.
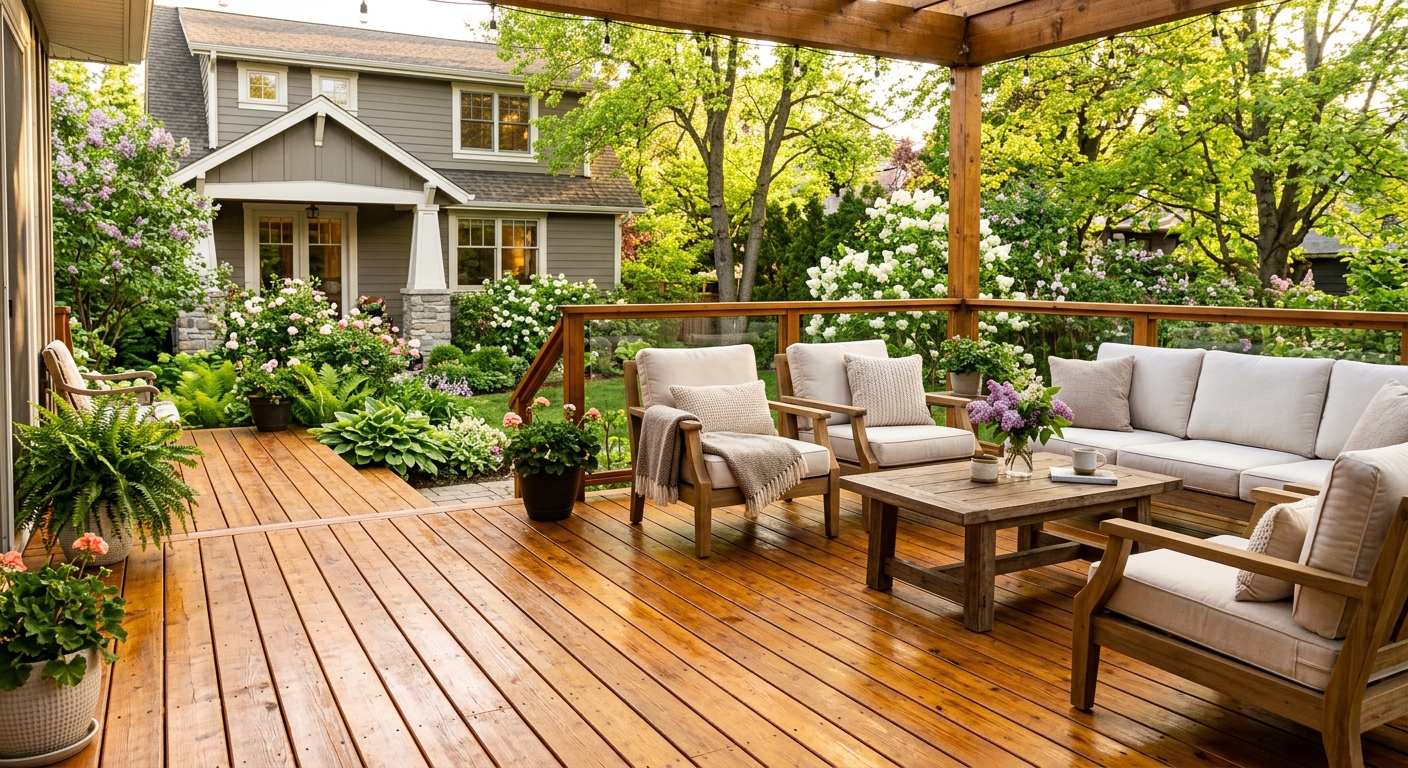
Right now — early April — is the perfect window. Dogwoods are blooming, temperatures are in the 75-80 range, and we're between the spring rain bursts. If you've been putting this off, this is the weekend.
A well-stained deck is the most cost-effective improvement you can make to your outdoor space. $200 in materials, six hours of work, and your deck looks like it was installed last month. No contractor required. No permit. Just Saturday.


