
I've been building things since I was 22 years old. Framing houses, pouring foundations, hanging drywall in August heat that would make most people reconsider their career choices. Twenty years of that teaches you one thing: the projects people overthink are usually the simplest ones. A fire pit is a perfect example.
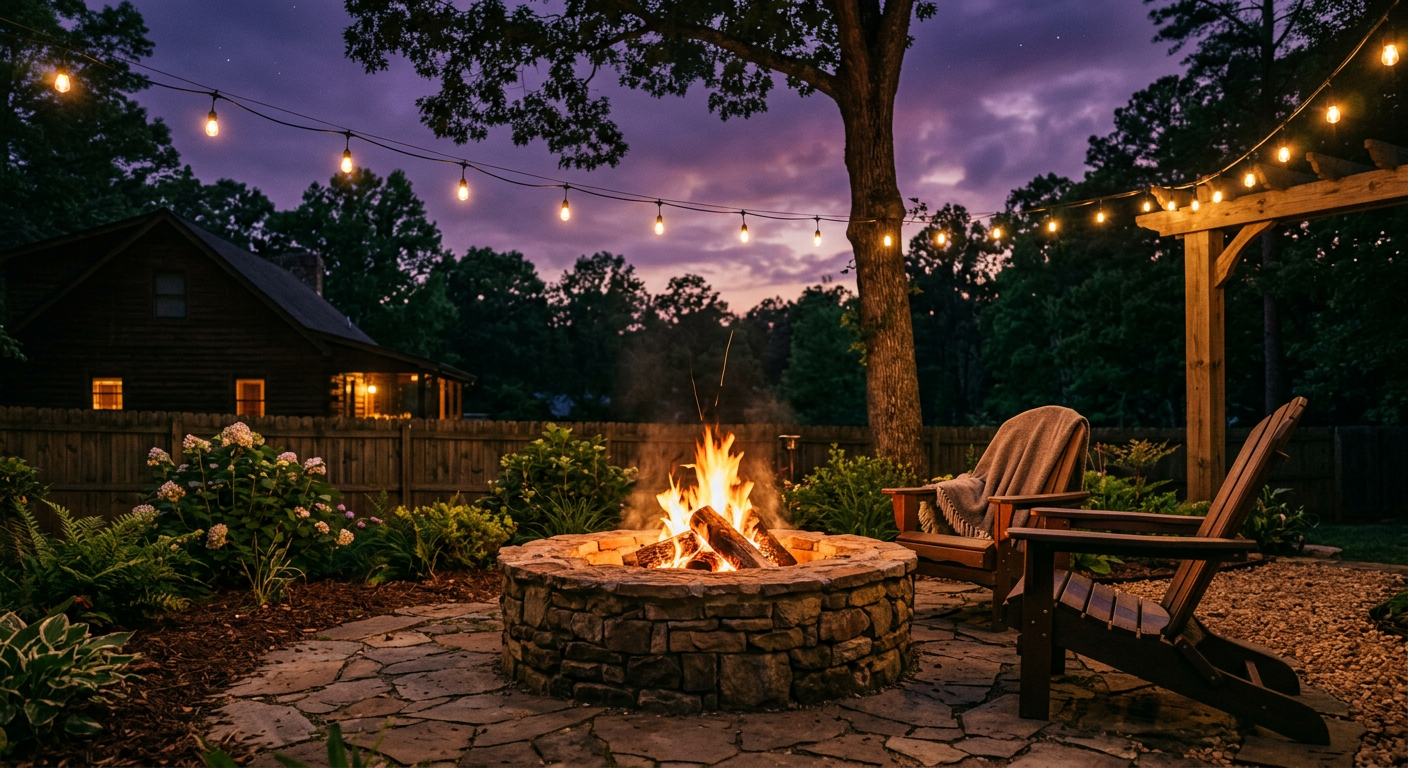
This is not a Pinterest fire pit. This is a structural, permanent, looks-like-you-hired-someone fire pit that you can build in a single Saturday with basic tools and about $400 in materials from your local landscape supply yard. No mortar. No permits (in most Georgia counties — check yours). No contractor markup. Just you, some stone, and a cold beer when you're done.
Materials List and Cost Breakdown
Here's exactly what you need. I'm pricing this based on current rates at Atlanta landscape supply yards (Pike Nurseries, Super Sod, and the stone yards on Buford Highway):
- 36 retaining wall blocks (Pavestone or Belgard, 12" wide): ~$144 ($4 each)
- Steel fire ring insert (36" diameter): ~$55
- Paver base/crushed gravel (6 bags, 0.5 cu ft each): ~$30
- Paver sand (2 bags): ~$12
- Landscape adhesive (2 tubes): ~$16
- Lava rock fill (2 bags): ~$20
- Fire pit cap stones (optional, 12 pieces): ~$72
- Spray paint (for marking): ~$5
Total materials: $354 — $426 with cap stones. If you already own the tools below, your out-of-pocket is under $450.

Pavestone
Retaining Wall Blocks (Pavestone 12")
$4/eachAvailable at Home Depot or Pike Nurseries
Shop Now
Sunnydaze
36-Inch Steel Fire Ring Insert

Loctite
Landscape Block Adhesive

American Fire Glass
Fire Pit Lava Rock (10 lb)

Stanley FatMax
48-Inch Box Beam Level

Bon Tool
10" x 10" Steel Tamper
Tools You'll Need
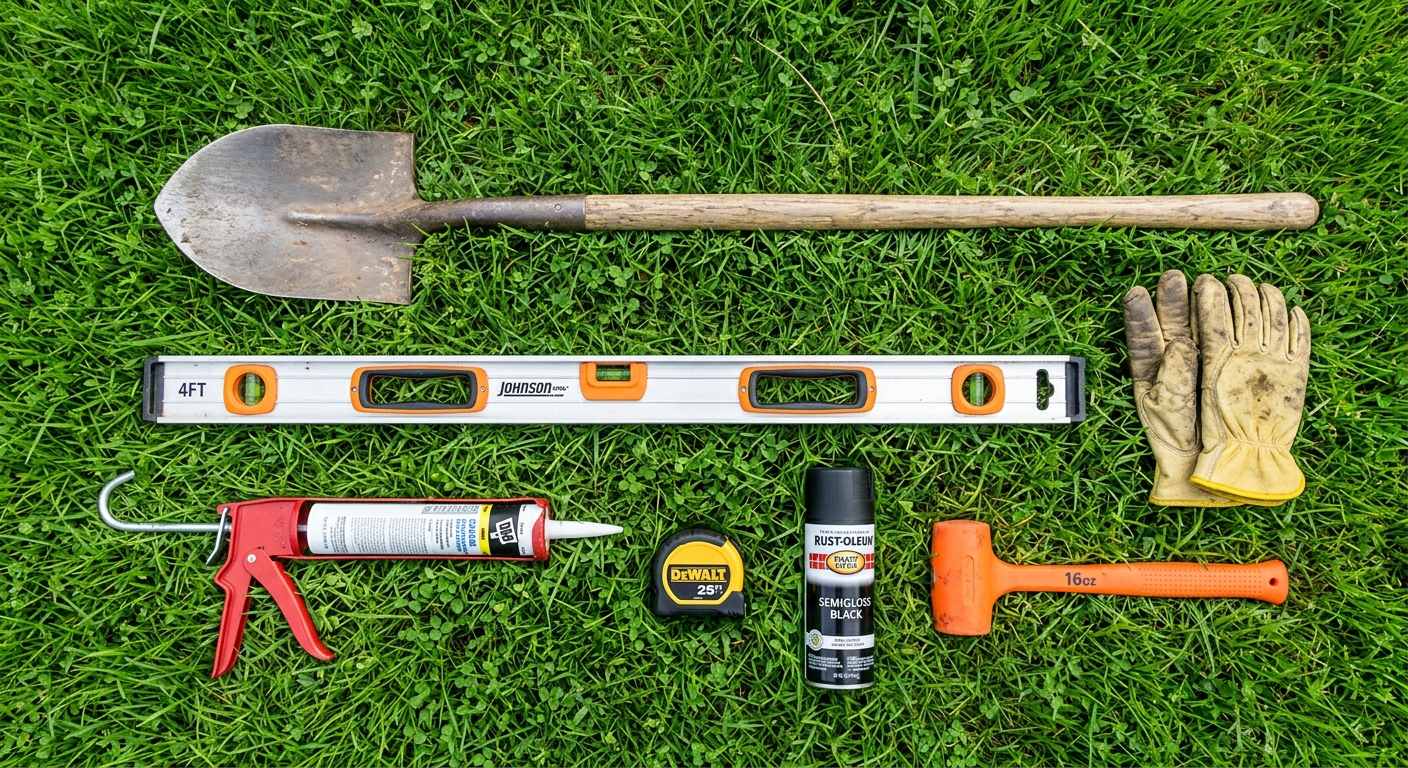
Nothing exotic. If you own a home and don't own these, this project is your excuse to fix that.
- Flat shovel — for excavation
- Level (4-foot preferred) — non-negotiable, do not eyeball this
- Rubber mallet — for setting blocks without cracking them
- Tape measure
- Hand tamper or plate compactor — a hand tamper is fine for this scale. If you rent a plate compactor ($65/day at Home Depot), your base will be better. Your call.
- Caulk gun — for the landscape adhesive
- Wheelbarrow
- Work gloves — retaining wall blocks will eat your hands

Step 1: Site Selection (30 Minutes)
This matters more than people think. Your fire pit needs to be:
- At least 10 feet from any structure — house, fence, pergola, shed. Twenty feet is better. Georgia fire codes are county-specific but 10 feet is the baseline everywhere.
- Away from overhanging trees. Look up. If there are branches within 15 feet overhead, pick a different spot.
- On flat ground or ground you can make flat. A slight slope is workable — a steep slope is a different project.
- Not over utility lines. Call 811 before you dig. It's free, it's the law, and it takes two days. Do this first.
Once you've picked the spot, drive a stake in the center. Tie a string to it, measure 24 inches out (half the diameter of your fire ring plus block width), and walk a circle with the spray paint. That's your excavation line.
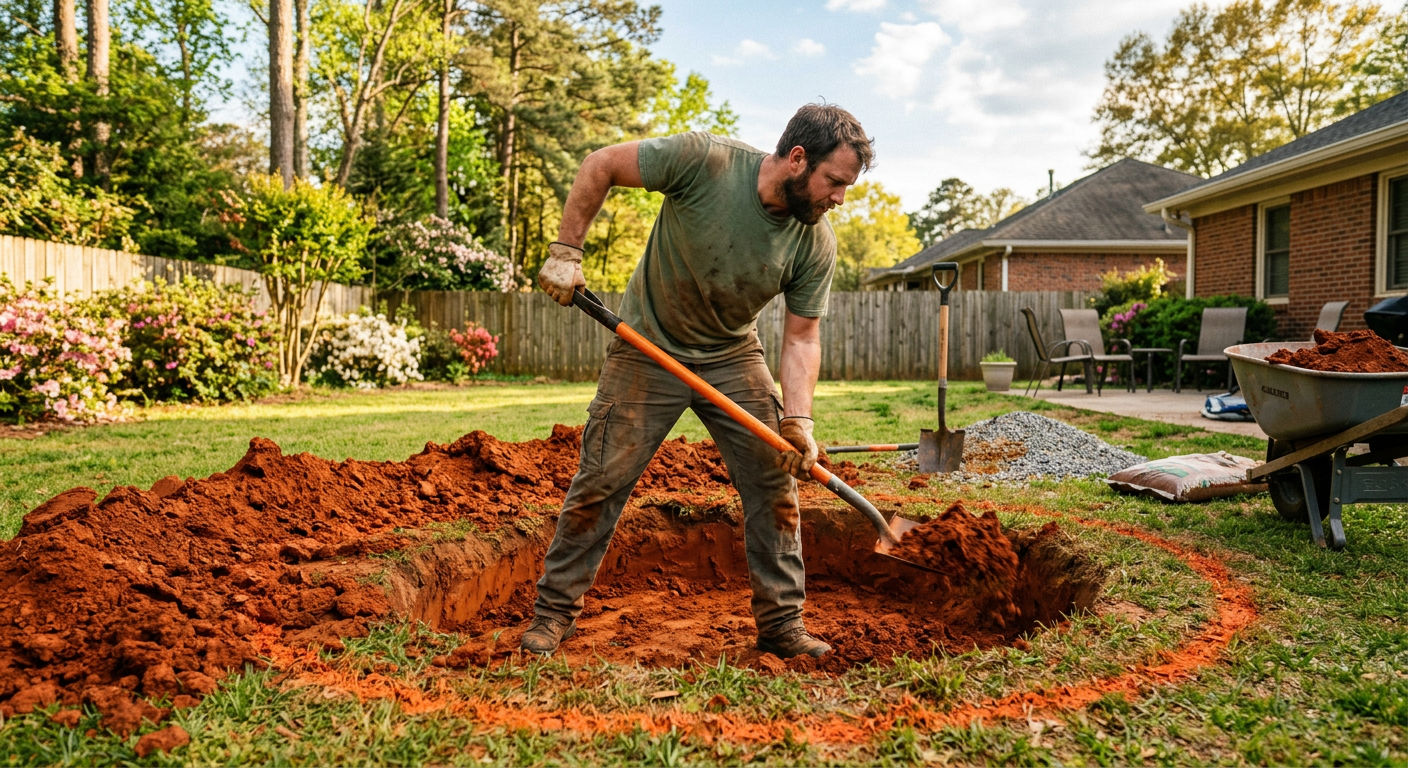
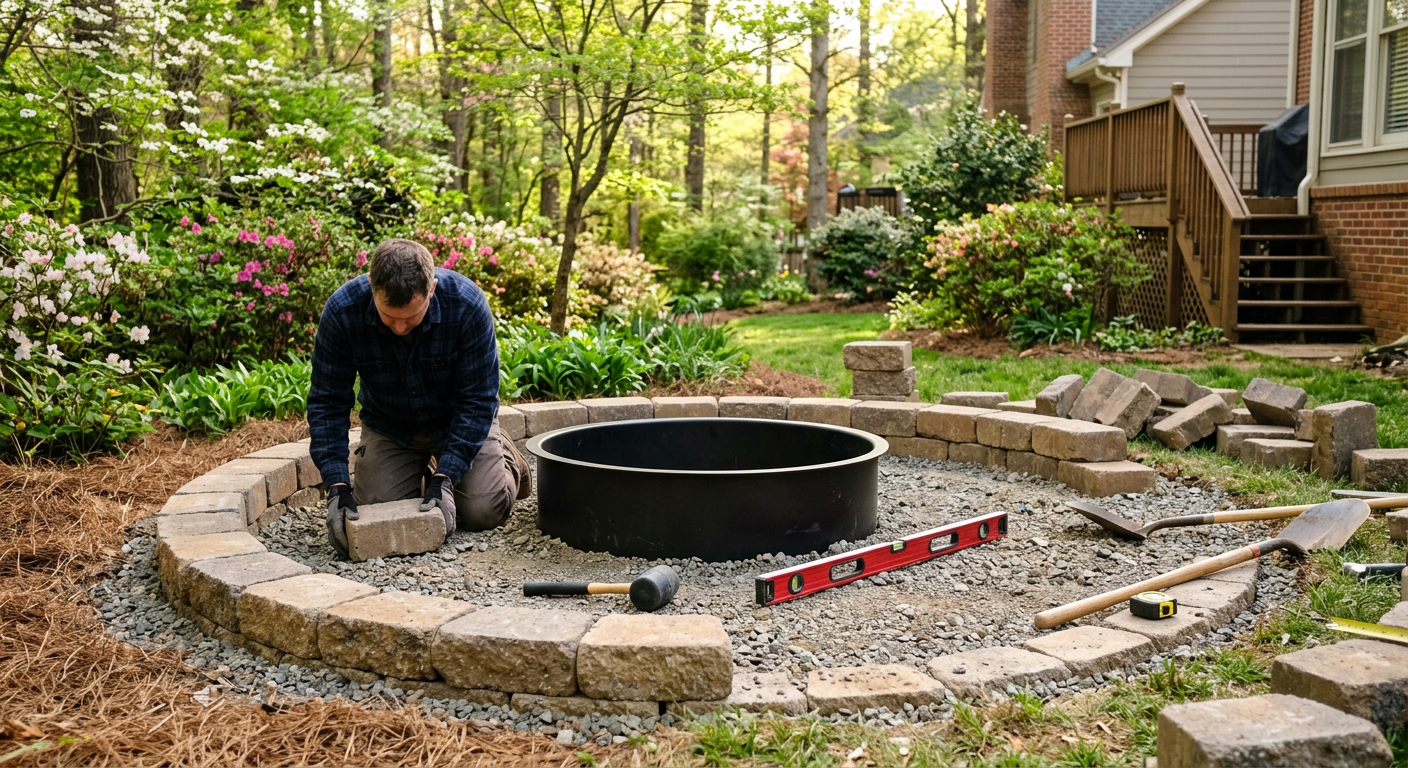
Step 2: Excavation and Base Prep (2 Hours)
Dig out the circle to a depth of 7 inches. The bottom 4 inches will be gravel base, the top 1 inch will be leveling sand, and the remaining 2 inches is how much your first course of blocks will sit below grade. Setting the first course partially below ground level is what keeps the whole structure from shifting over time. Skip this and your fire pit will look like a stack of blocks by next spring.
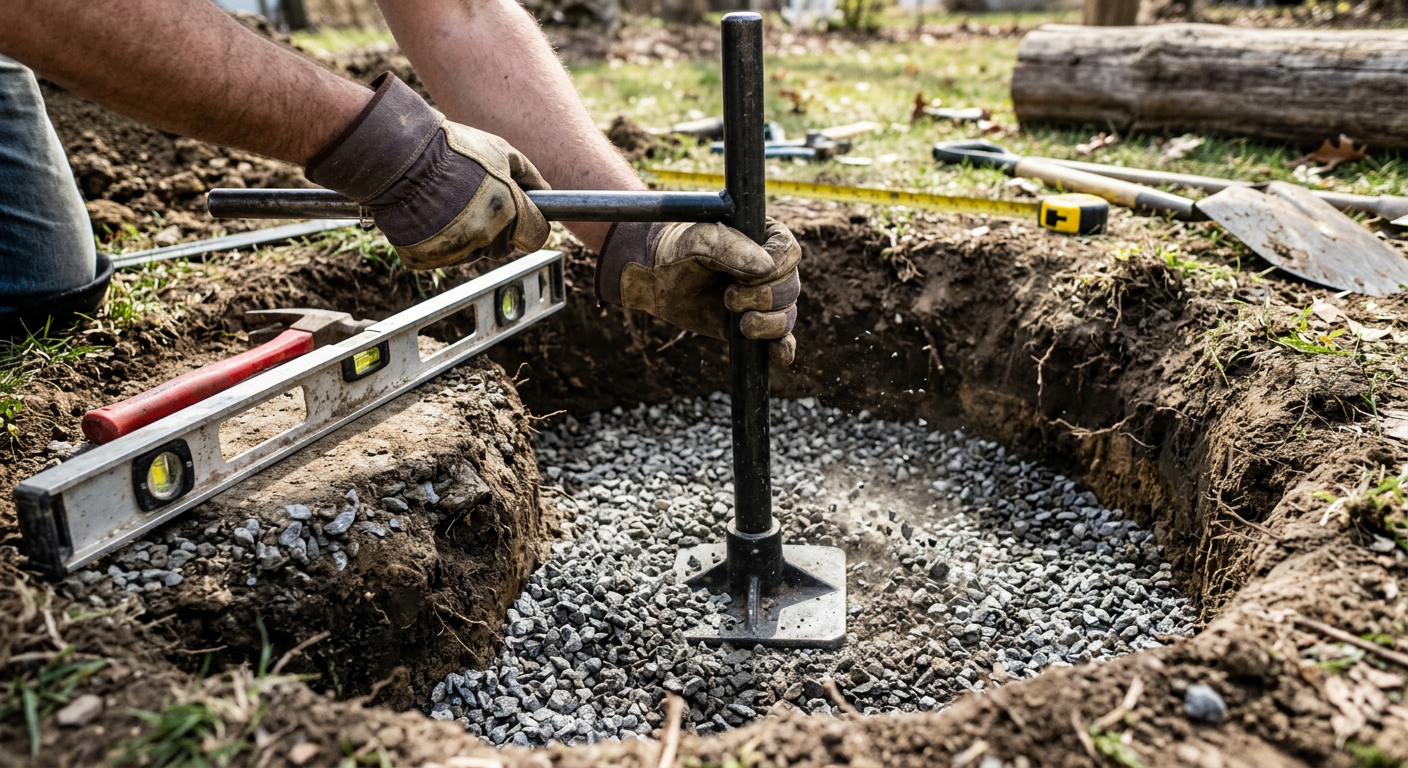
Pour the gravel into the hole in 2-inch lifts, tamping each one flat. This is the boring part. Do it right anyway. A level base means level blocks, and level blocks mean a fire pit that looks professional instead of homemade. After the gravel is tamped flat, spread 1 inch of paver sand on top and screed it smooth with a 2x4.
Pro Tip: Georgia red clay holds water like a sponge. If your site has heavy clay (and in metro Atlanta, it probably does), dig an extra 2 inches deep and add more gravel. Water pooling under your base will cause frost heave in winter and your blocks will shift. An extra $10 in gravel saves you from re-doing the project next year.
Step 3: Laying the First Course (45 Minutes)
Set the steel fire ring in the center of your prepared base. This is your guide — every block in the first course should sit with its inside edge touching or nearly touching the ring.
Start with one block. Level it front-to-back and side-to-side. Tap it into the sand with the rubber mallet until it's dead flat. Now set the next block tight against it, level it, and continue around the circle. The blocks are designed to create a curve — the tapered back edge does the work for you.
When you complete the circle, check the entire first course with the level one more time. Adjust as needed. This is your foundation. Every course above this one inherits whatever mistakes you make here.
Step 4: Stacking and Finishing (1.5 Hours)
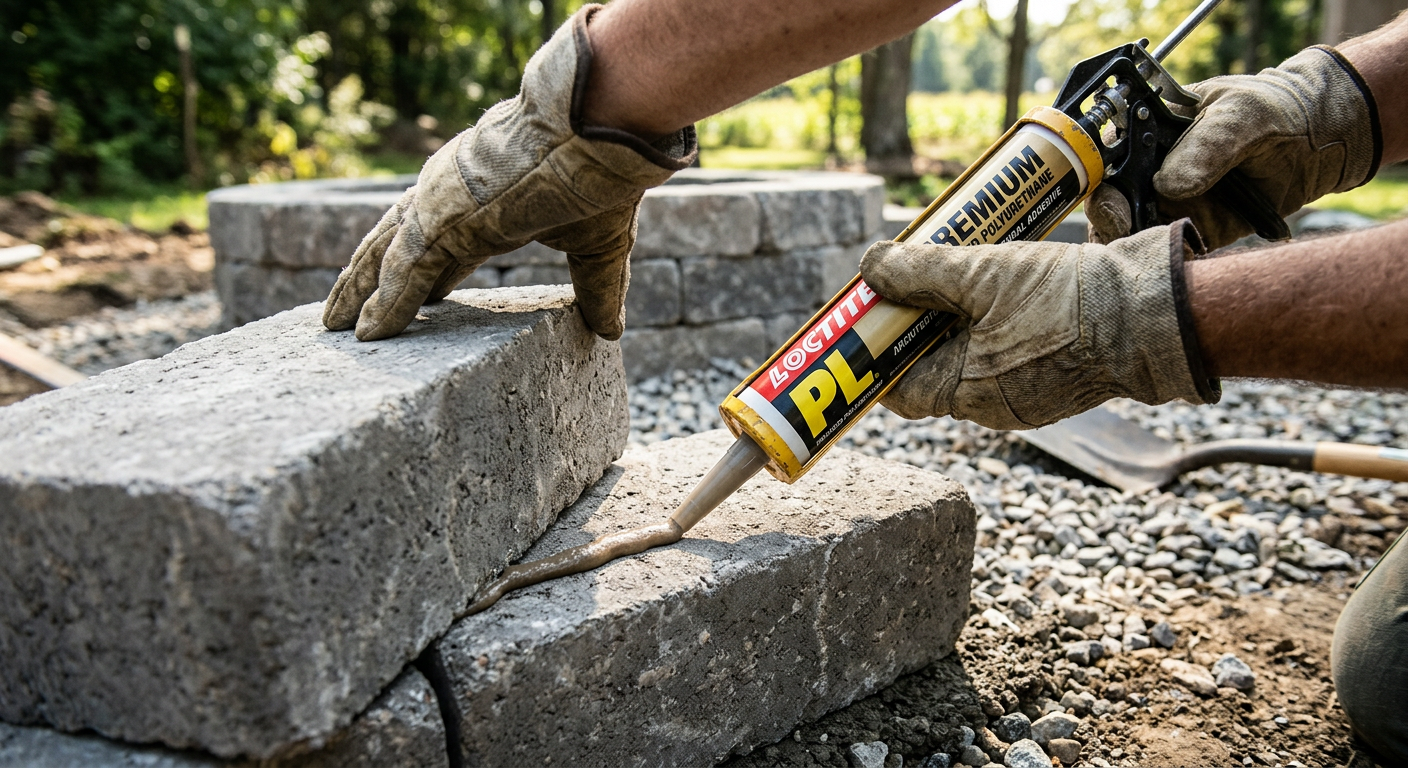
Apply a bead of landscape adhesive to the top of each block in the first course. Set the second course on top, staggering the joints (each block should bridge the gap between two blocks below it, like brickwork). Level, adjust, repeat. Apply adhesive between every course.
Three courses is the standard height — about 14 inches above grade. It's comfortable for sitting around, and it contains the fire without being so tall that it blocks the heat. If you bought cap stones, adhesive them onto the top course for a finished look and a smooth surface to set drinks on.
Drop the steel ring into the center. Fill the gap between the ring and the inside of the blocks with gravel (this prevents the blocks from direct heat exposure and extends their life). Spread lava rock in the bottom of the ring for drainage and aesthetics.
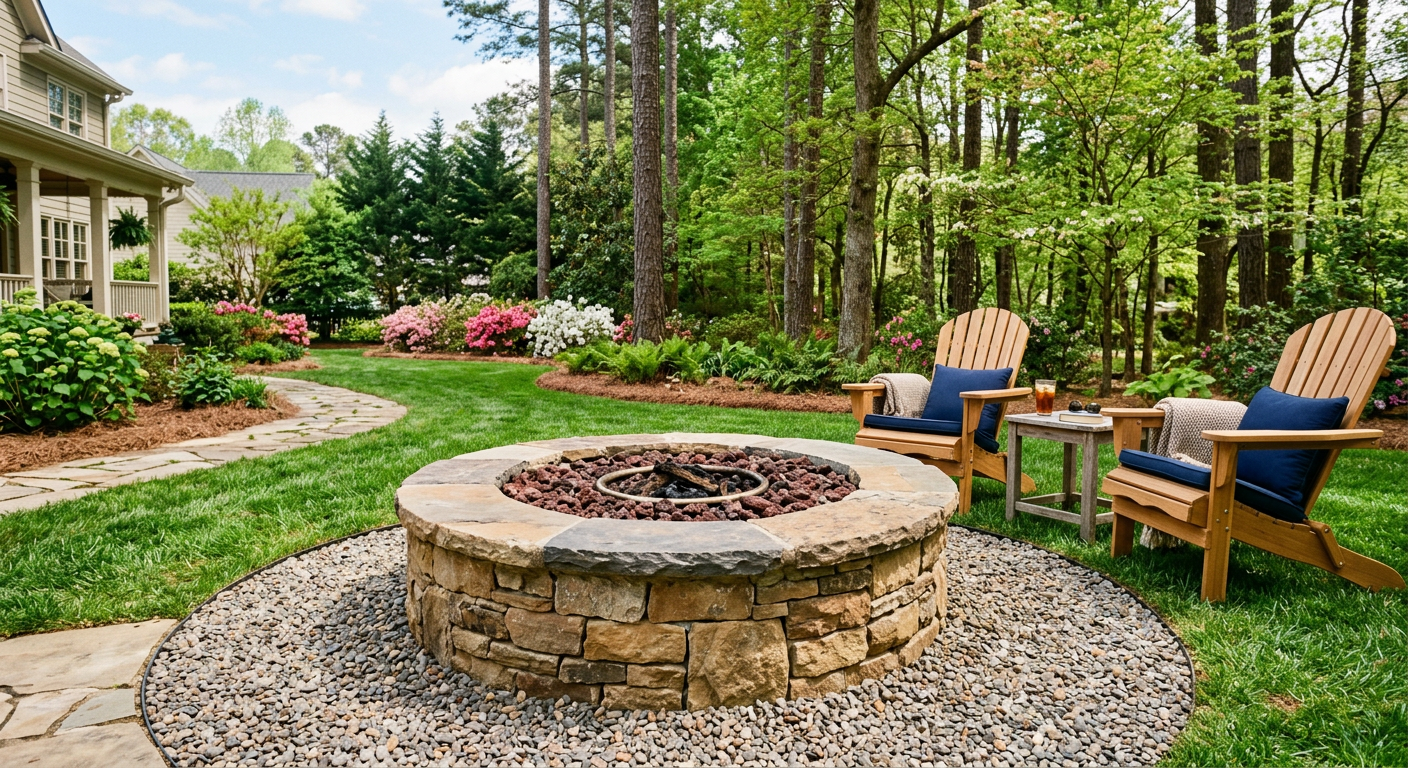

The Finishing Touches That Separate Good From Great
Once the pit is built, consider the area around it. A ring of pea gravel (4-6 inches deep, 3-4 feet wide around the perimeter) gives you a clean, non-flammable border and keeps the lawn from getting scorched. It also means no one is dragging mud into the seating area after a rain. Two cubic yards of pea gravel from a landscape yard runs about $60 delivered — and it's the single best upgrade you can make to the finished product.
For seating: Polywood Adirondack chairs. I've used them on job sites for 15 years. They don't rot, they don't splinter, they don't blow over in a Georgia thunderstorm, and they actually look better after a few seasons of weather. The real ones (not the knockoffs) run about $250-$350 each. They're the last outdoor chairs you'll buy.
This entire build — from first shovel to first fire — takes about five hours if you're working alone, three if you've got a buddy helping move blocks. The hardest part is the base prep, and even that is just digging and tamping. No special skills required. No YouTube rabbit holes. Just a straightforward project that gives you a permanent outdoor gathering spot for less than a single contractor bid would cost.


