
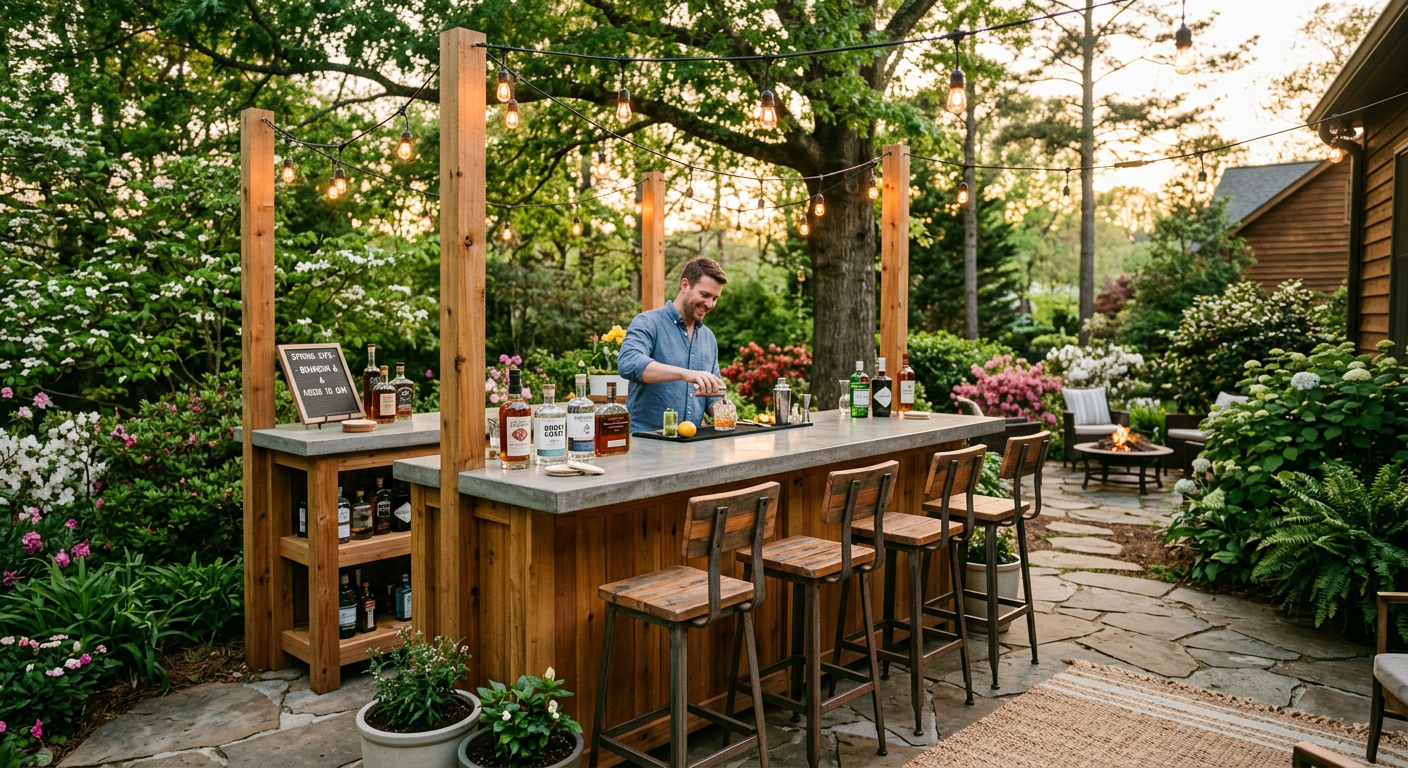
I've been to a lot of backyard parties where the host set up a folding table with a tablecloth and called it a bar. That's not a bar. That's a cry for help. A real outdoor bar — one that looks like it belongs, one that makes your buddies stop and say "wait, you built this?" — is absolutely a weekend project. I've built three of them. The design I'm walking you through here is my favorite: cedar frame, poured concrete countertop, and a garden hose wet sink that costs almost nothing to plumb. Total materials: $600-800 depending on how fancy you get with the finish.
This is a two-day build. Saturday is framing and concrete pour. Sunday is finishing, mounting, and plumbing. Monday you're hosting.
What You'll Need
Materials (~$600-800)
- Cedar 2x4s (10): $85-100 — do not use pressure-treated for the visible frame. Cedar weathers beautifully and won't leach chemicals near your food. Home Depot on Howell Mill stocks western red cedar year-round.
- Cedar 1x6 tongue-and-groove planks (12): $70-90 — for the front and side cladding. Atlanta Hardwoods in Buckhead has better stock than the big boxes if you want tight grain.
- Melamine-coated particleboard (1 sheet): $35 — for the countertop mold. The melamine coating gives you a smooth concrete surface.
- Quikrete 5000 (6 bags, 80lb each): $42 — high-early-strength concrete. Don't use the basic Quikrete. The 5000 cures harder and takes a polish.
- Concrete countertop mix additive: $25 — Quikrete makes one specifically for countertops. It reduces air bubbles and makes the surface smoother.
- Concrete pigment (optional): $12 — charcoal or slate gives you that high-end look. Without pigment, you get standard gray, which honestly looks fine too.
- Wire mesh (1 sheet, 3x5): $15 — reinforcement for the countertop so it doesn't crack.
- Stainless steel bar sink (15" drop-in): $65-85 — Amazon has a dozen options. Get the one with the drain fitting included.
- Garden hose quick-connect adapter kit: $18 — this is your entire plumbing system. One adapter on the supply side, a drain hose running to a gravel pit or garden bed.
- Exterior wood screws (3" and 1.5" boxes): $22
- Concrete sealer: $35 — food-safe penetrating sealer. Two coats minimum.
- Spar urethane for cedar: $28 — Minwax Helmsman is the standard. Three coats.
- Miscellaneous (L-brackets, shims, sandpaper, silicone): $40
Tools
- Miter saw or circular saw
- Drill/driver with impact bits
- Level (4-foot preferred)
- Speed square
- Orbital sander
- Concrete mixing tub or wheelbarrow
- Margin trowel and flat trowel
- Jigsaw (for sink cutout)
- Clamps (4 minimum)
- Safety glasses and concrete-rated gloves


Day One: Frame and Pour
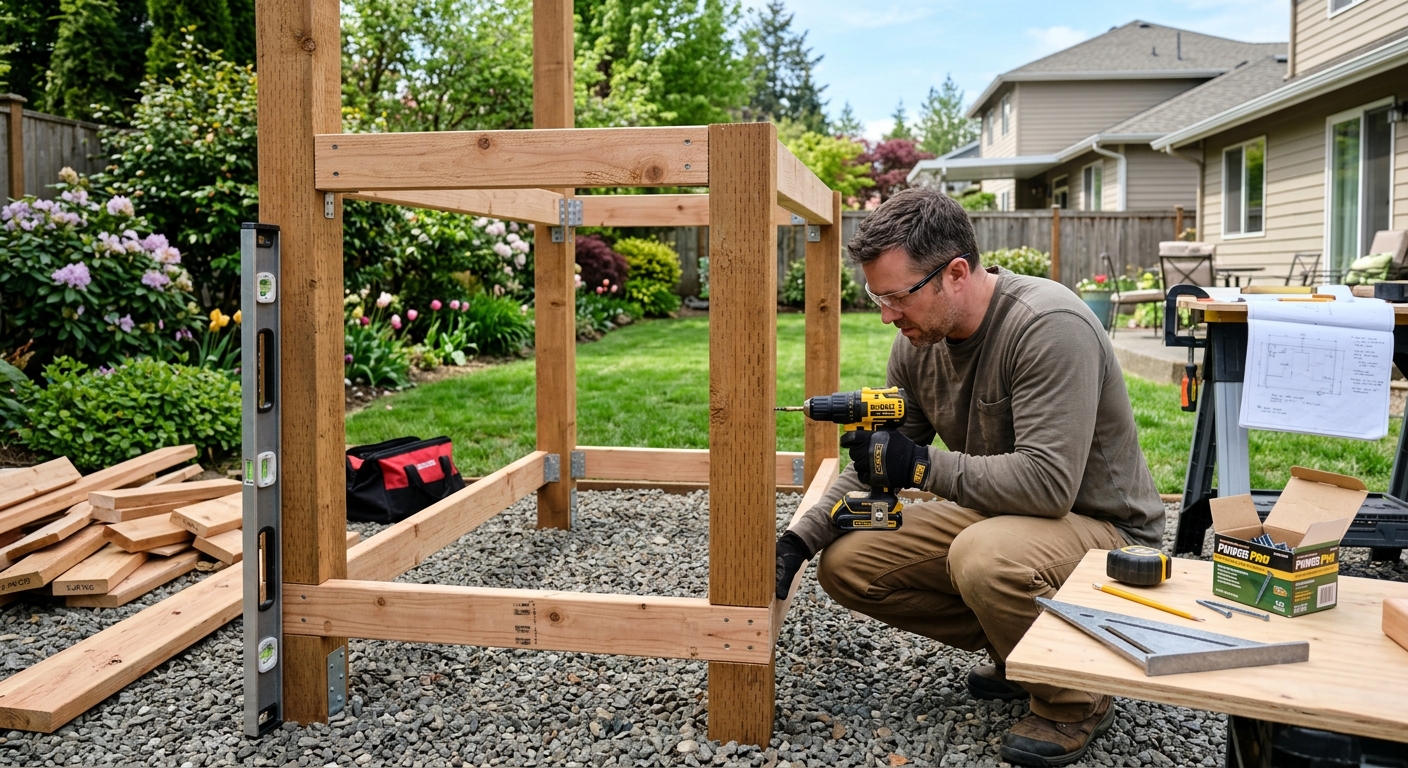
Step 1: Build the Base Frame
The bar dimensions I use are 6 feet long, 24 inches deep, and 42 inches tall. That 42-inch height is important — it's standard bar height, which means bar stools fit perfectly and you're not hunching over to mix drinks. Cut your 2x4s for a simple rectangular frame: two long rails top and bottom, short cross-members every 24 inches. Think of it as building a very small wall, then building another one, then connecting them. If you can build a bookshelf, you can build this frame.
Use 3-inch exterior screws at every joint. Pre-drill your cedar — it splits easily without pilot holes, and there's nothing more demoralizing than splitting a $9 board because you were impatient. Add diagonal bracing on the back side for rigidity. The frame should feel absolutely solid when you push on it. If it rocks, add another brace.
Step 2: Build the Countertop Mold
This is where people get nervous, and they shouldn't. Your mold is just a melamine box. Cut the base to 74 inches by 26 inches (that gives you a 1-inch overhang on all sides). Screw melamine strips around the perimeter to create walls — 2 inches tall is plenty for a 1.5-inch countertop. Seal every inside corner with a bead of silicone. That silicone line is what gives you a clean, rounded edge on the finished countertop. Let it cure for an hour.
Before you pour, lay your wire mesh in the mold, propped up on small stones or mesh chairs so it sits in the middle of the concrete, not on the bottom. Cut your sink hole now using the template that came with your sink. Trace it on the melamine, jigsaw it out, and frame the opening with melamine strips. Clean the mold with a damp rag — any debris will show up on the finished surface.
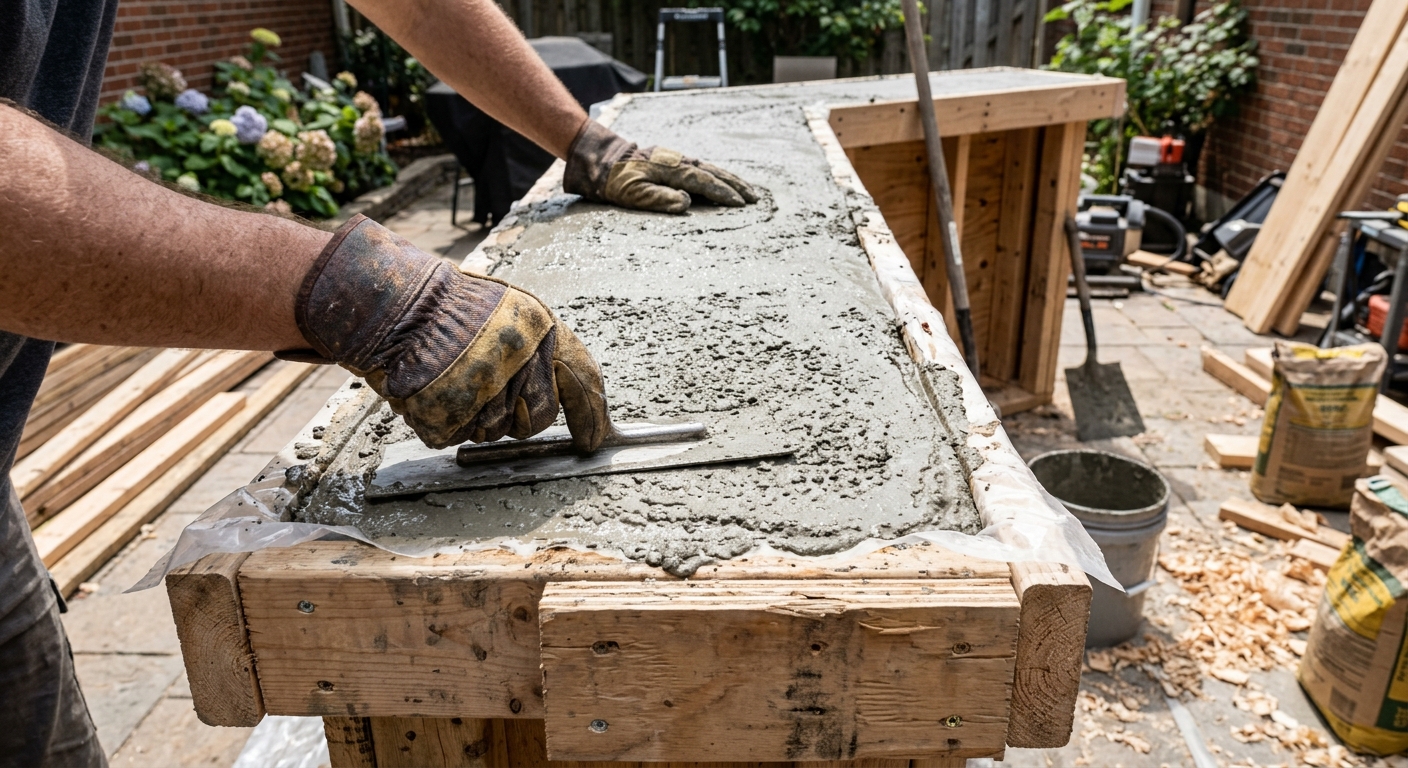
Step 3: Pour the Concrete
Mix your Quikrete 5000 with the countertop additive per the bag instructions. Add pigment now if you're using it. The consistency should be like thick peanut butter — not soupy. Pour in lifts: first an inch, vibrate the mold by tapping the sides firmly with a rubber mallet for two solid minutes (this is what eliminates air bubbles — don't skip it), then pour the remaining half-inch. Trowel the top smooth. It doesn't need to be perfect — this is the underside when you flip the mold.
Cover with plastic and walk away. Give it 24 hours minimum. I know you'll want to peek. Don't.

Day Two: Finish, Mount, and Plumb
Step 4: Clad the Frame
While the concrete cures overnight, Sunday morning is for finishing the frame. Attach your cedar 1x6 tongue-and-groove planks to the front and sides with 1.5-inch screws. Start from the bottom and work up. The back stays open for access to plumbing and storage — you can add a cedar door later if you want to hide the garden hose and bottles.
Sand the cedar with 150-grit on your orbital sander, then apply three coats of spar urethane. This is an outdoor bar in Georgia — without UV protection, that beautiful cedar will turn gray in one summer. Spar urethane keeps the warm honey tone. Apply each coat thin, sand lightly with 220 between coats. Pike Nurseries carries Minwax Helmsman and they actually know what it's for, unlike the 19-year-old at the big box store.

Step 5: Demold and Mount the Countertop
This is the satisfying part. Unscrew the melamine walls, flip the slab (you'll need a buddy for this — a 6-foot concrete countertop weighs around 130 pounds), and set it on the frame. The surface that was against the melamine is your finished top — it should be glassy smooth. If you've got a few pinholes, mix a thin slurry of concrete and skim it with a putty knife, then sand smooth after an hour.
Drop your sink in the cutout, seal the rim with outdoor silicone, and apply two coats of food-safe penetrating concrete sealer to the entire surface. This keeps beer, wine, and burger grease from staining. Reapply every spring — takes ten minutes.
Step 6: Plumb the Wet Sink
This is the part that sounds complicated and is actually laughably simple. Attach a garden hose quick-connect fitting to a short supply line running up through the frame to a small faucet mounted at the back of the sink. Your water supply is literally a garden hose that clicks on and off. The drain runs through a standard sink drain fitting, down through the frame, and out to a length of flexible tubing that empties into a gravel-filled dry well or a garden bed. No permits. No plumber. No PVC solvent welding. A 12-year-old could do this part.

Finishing Touches
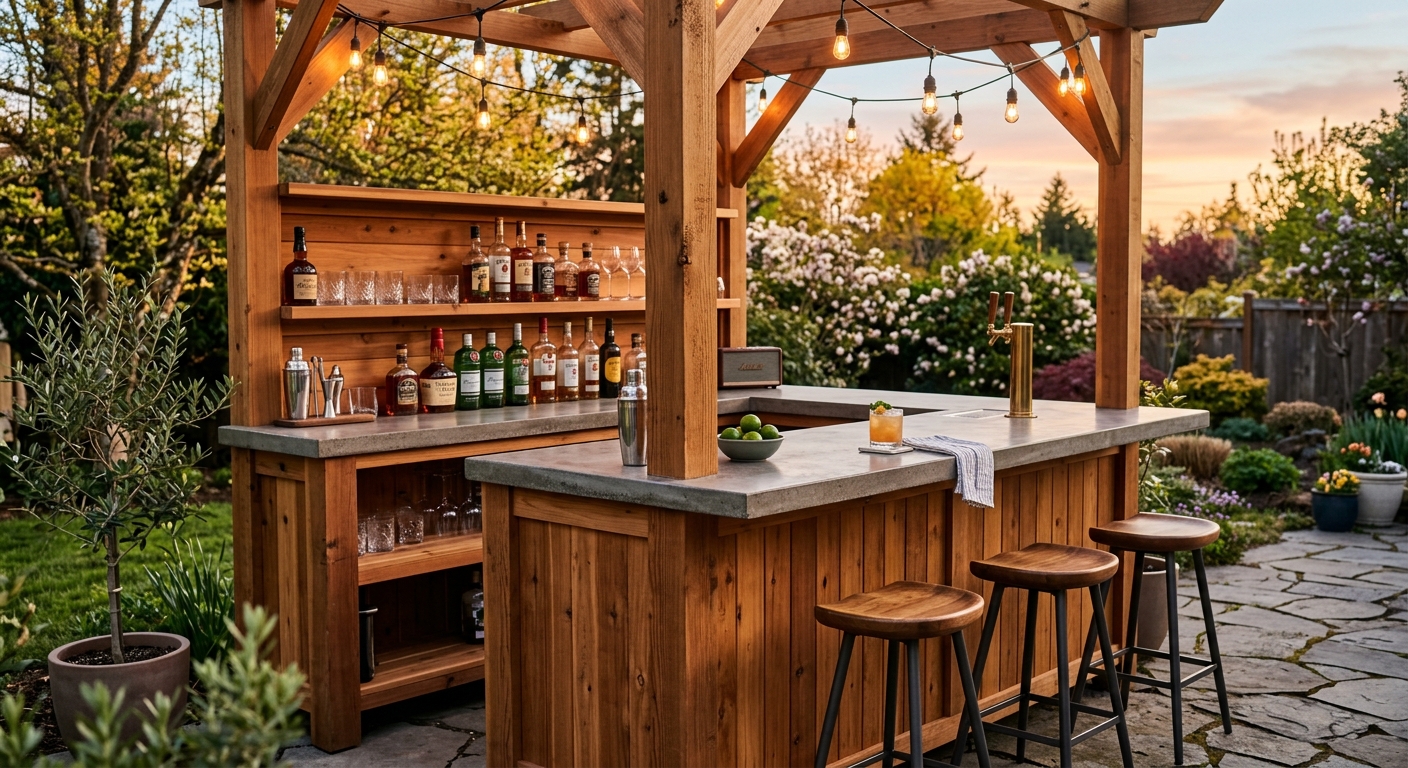
Add a bottle opener mounted to the side (screw-mount, $8 on Amazon). Run a strip of outdoor LED tape under the countertop lip for night lighting — it takes five minutes and costs $15 but makes the bar look like it was designed by someone who charges $200 an hour. Mount a small floating shelf on the back wall for bottles if you've positioned the bar against a fence or wall.
Total cost for my last build: $740 including the pigment and LED strip. Total time: about 14 hours across two days, with drying time doing the heavy lifting. That's less than what most people spend on a single weekend bar tab in Buckhead, and this bar will be in your backyard for the next 15 years.
One more thing: the first time you walk outside on a warm Georgia evening in May, flip on those LEDs, pull a cold beer out of a cooler tucked inside the open-back cabinet, and hand it to a friend who says "wait, you built this?" — that's the moment. That's the whole point.


